Blender Renders
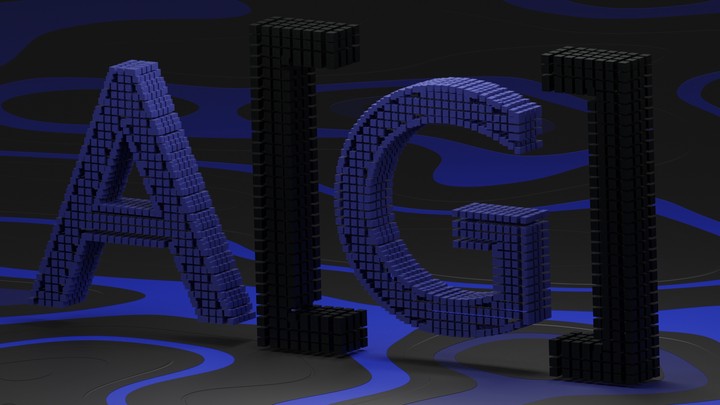
Portfolio of renders I’ve created from Blender
This page is a showcase of the Blender renders I’ve completed. The background to this is here. Over time this project will evolve into something more substantial.
Current work (June 2020 - Week 2)
I am on YouTube! “Why would you do this?" Easier faciliation of outputing Blender renders, particularly for video files (MPEG 4, encoded using the H.264 codec) which can grow in file size very quickly.
This week has been mostly working on an entire video composition from start to finish:
- Opening credits - The Matrix type effect is acheived using shading nodes only! This is entirely based on the work of CGMatter, truly awesome - generated using math (and a font set from dafont.com).
- Modelling the chess pieces - helps to have good reference images but these can be hard to trace. In the video I show the reference image I used. It’s hard to tell but it’s not strictly a side projection (there is some slight rotation). You can get some sense of sharp edges from the lighting effects on the reference image. The knight was the hardest piece to model.
- Shading the objects - kept this simple and used the default Principled BSDF node.
- World lighting - again kept this simple and used one of Blender’s default HDRI from within the material preview viewport shading.
- Finding a Chess Game to play out - I chose Kasparov’s Immortal game, it sounded cool and is highly rated in the Chess world.
- Animating the chess game - I soon realised this was going to be tedious. Blender allows you to write custom Python scripts which would make this process much more efficient. A few edge cases need to be considered though:
- Pieces moving over each other (such as the Knight’s L shaped move - I opted for a quick z-axis lift)
- Piece taking another piece - here I opted for a vanishing act achieved using a z-axis fall
- Pawn upgrade - not shown in this sample video
- King checkmate - again not shown in thie sample video The other critical element is the camera placement and movement - I kept this simple, it’s not great and is a bit boring to be honest.
- Finding some suitable music to go with the video images. I wanted to explore some copyright free music (simplistically works pre-1922 are in Public Domain) but you still have to be careful. Performances of Public Domains work are copyrighted to the performer. So my YouTube video was demonetized (I am not eligble for the YouTube partner program yet anywhere). I went with Erik Satie’s Gnossienne No. 1, performed by Alena Cherny.
- Using Blender’s Video Editing workflow to composite the various video clips and the audio file together. Very simple use of a fade transition. Not used this workflow before, looks pretty cool!
There is a lot of work left to do hence the title of a concept piece:
- Perhaps the most major blunder is the incorrect composition of the chessboard! The white Rook (position h1) should start on a white square. “Why not re-render?" you may ask. The reason is partially laziness, partially to move onto a new project and partially due to rendering times (roughly 30 minutes using the Eevee rendering engine).
- I ran out of time to complete the Chess Notation section (bottom right of the chess game animation) although I did find a nice Chess font from dafont.com.
Current work (June 2020 - Week 1)
Finally decided to go back to basics and follow along with some beginner’s level tutorials. The one that has become a bit of meme amongst the Blender community, the “Hello World” of renders, the donut. For those aspiring to start working with Blender I highly recommend Blender Guru’s tutorial series.
Here are my creations:
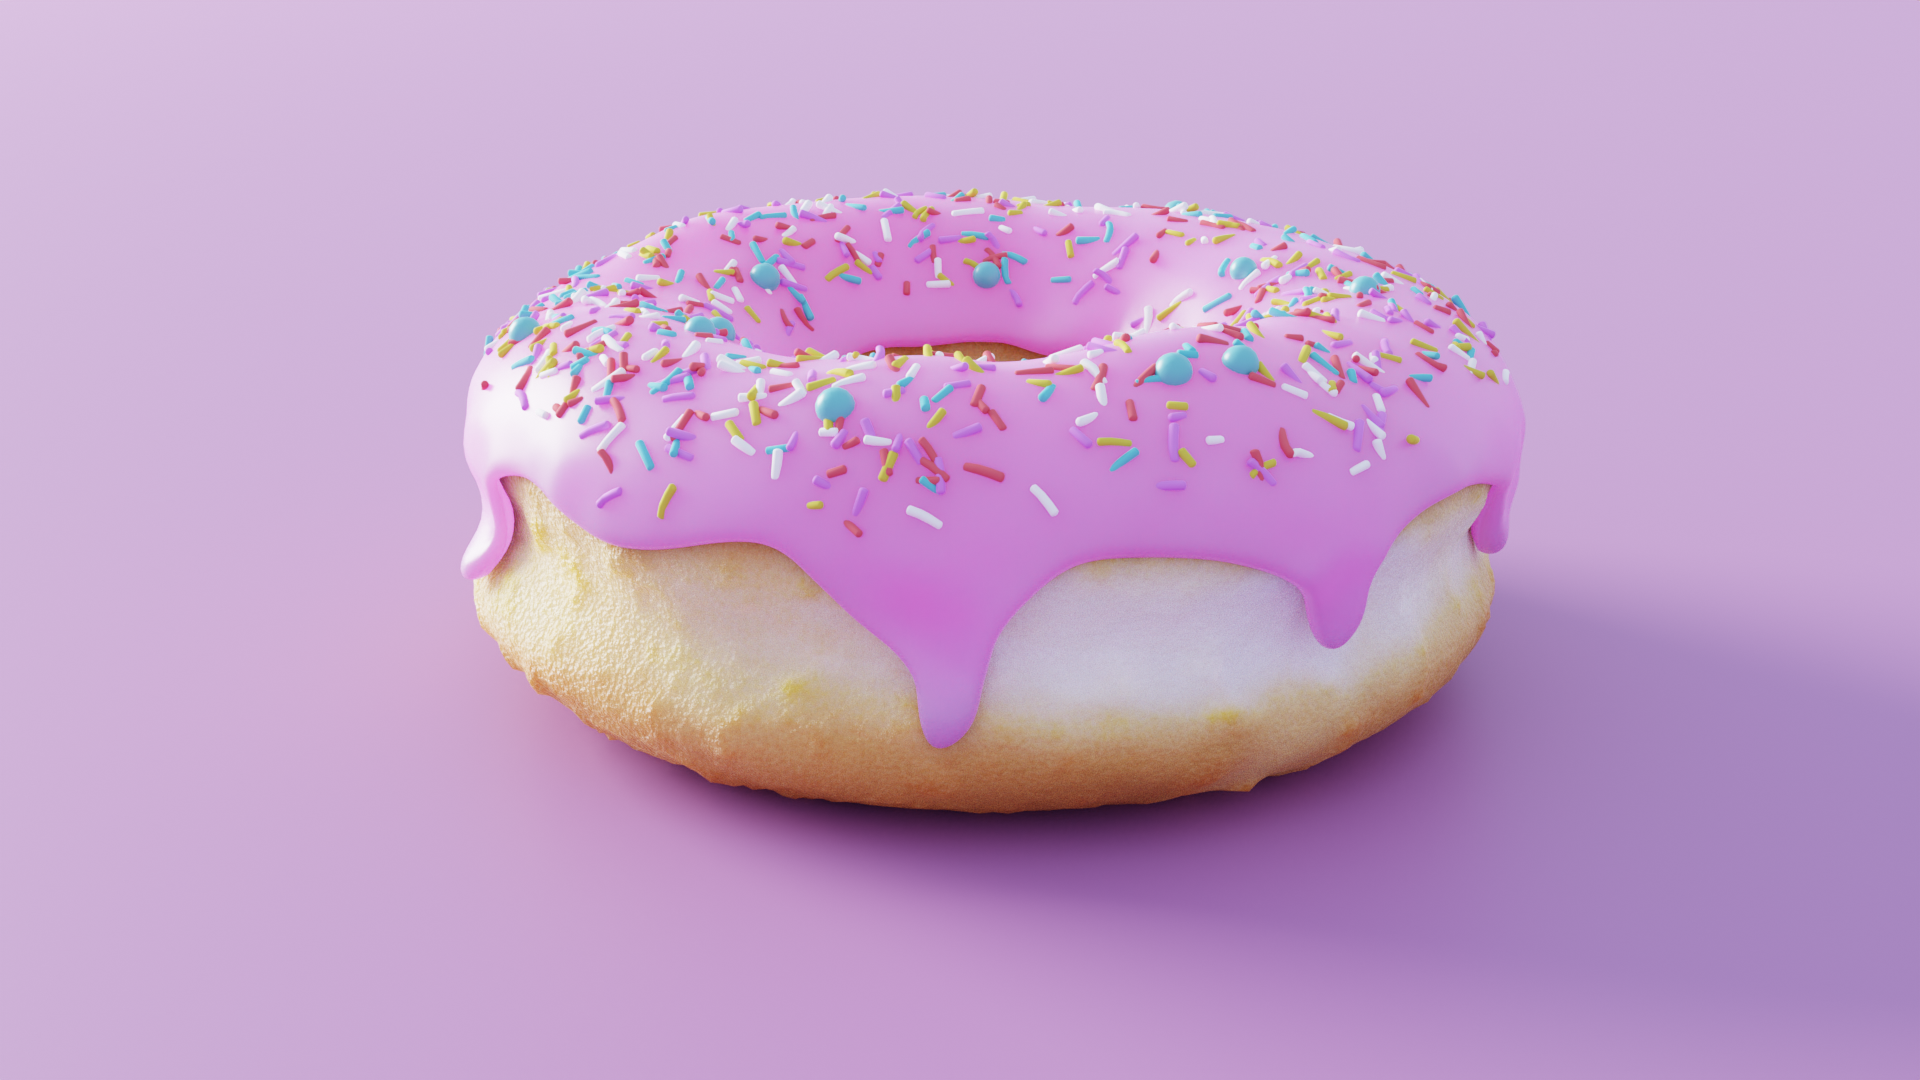
- June 4, 2020 - Donut
Probably my best work so far. Icing is a little off with the wrapping around the donut. Probably can be fixed with some simple sculpting on the mesh. The displacement at the bottom of the donut may be too much - this will be a little tricky to fix as the displacement is achieved using a noise texture.
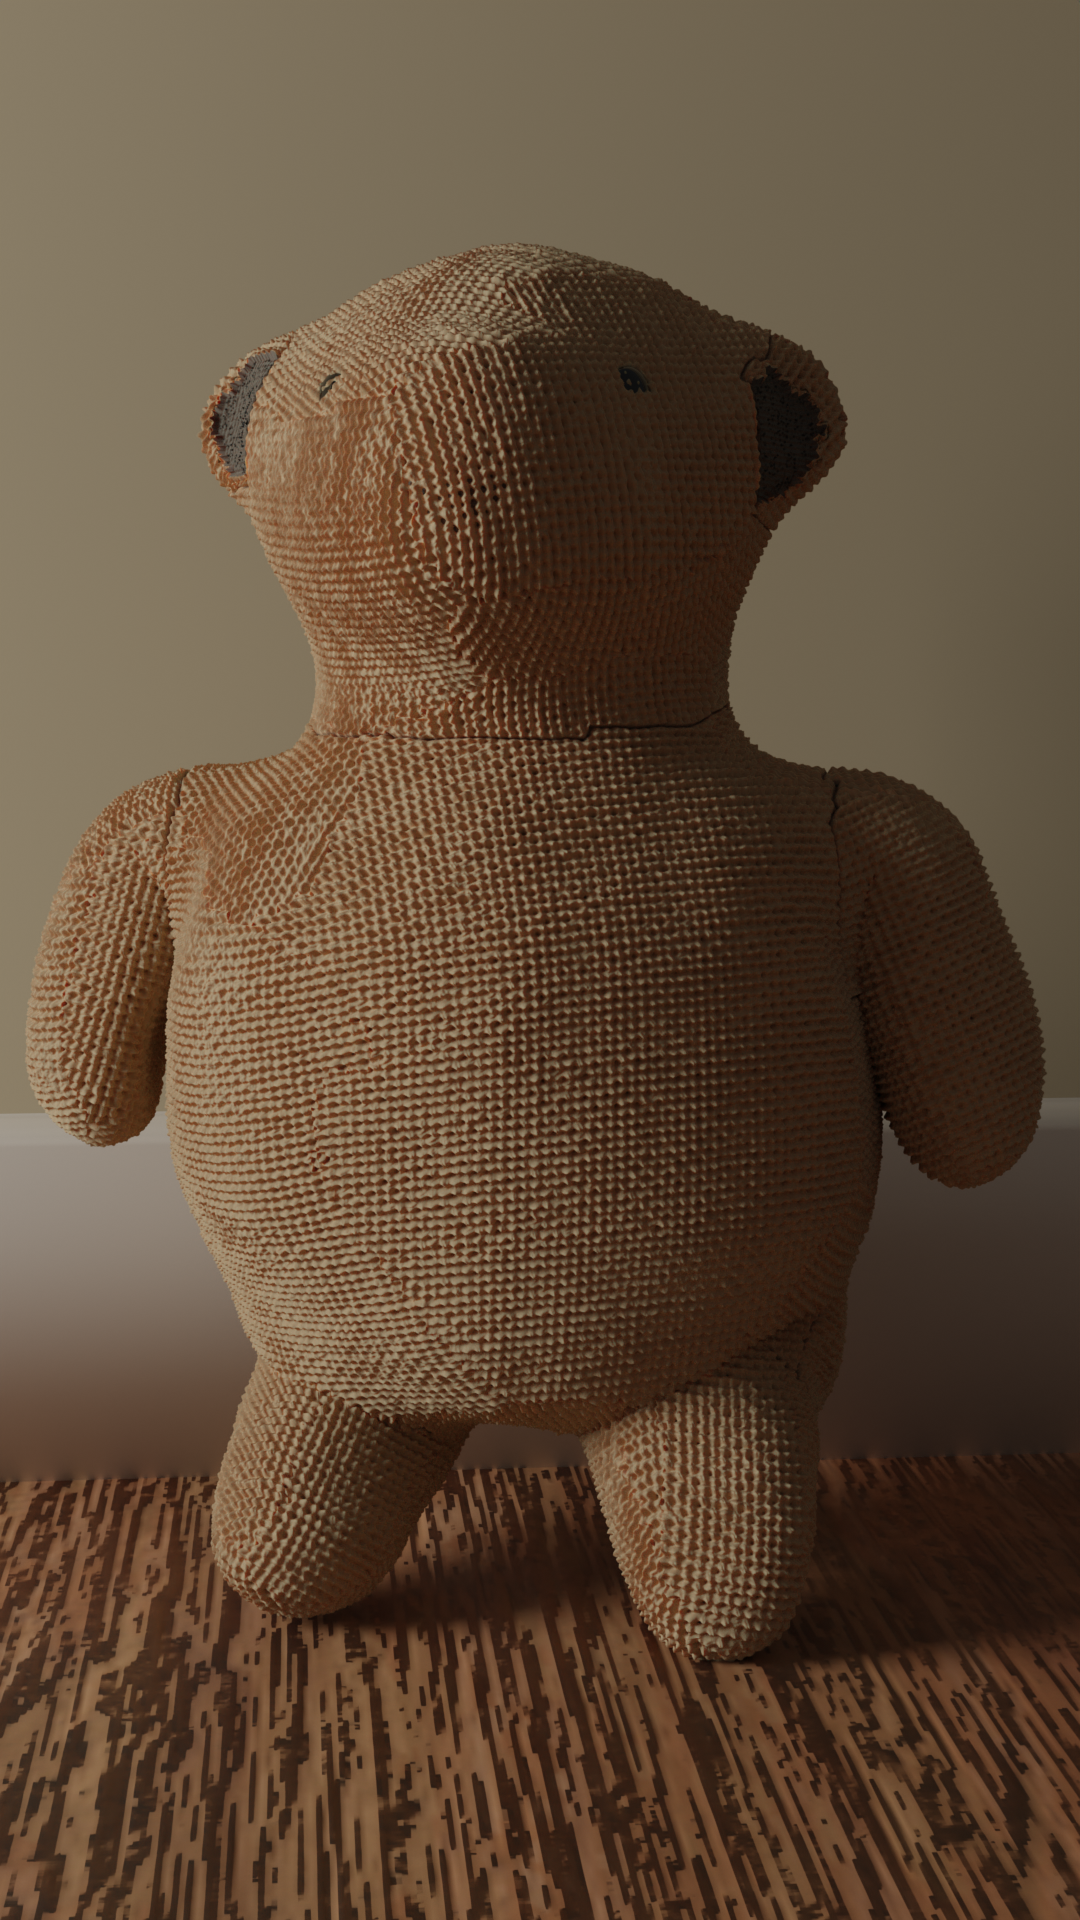
- June 3, 2020 - Teddy Bear
I suck with the sculpting tools in Blender. I want to blame the tools (I’m using a mouse rather than a pressure sensitive stylus) but really it’s because I’m rubbish. The main issue with this is the proportions are all wrong. The flooring texture (meant to be a nice wood floor) has been stretched so I ought have fiddled with the xyz scaling. The UV unwrapping for the teddy fabric is pretty awful because of bad topology. Other issues: too strong displacement has meant the nose texture has disappeared as well as the eyes sunk into the face. Finally I tried to create some nylon hair but it may be hidden within the displacement again.
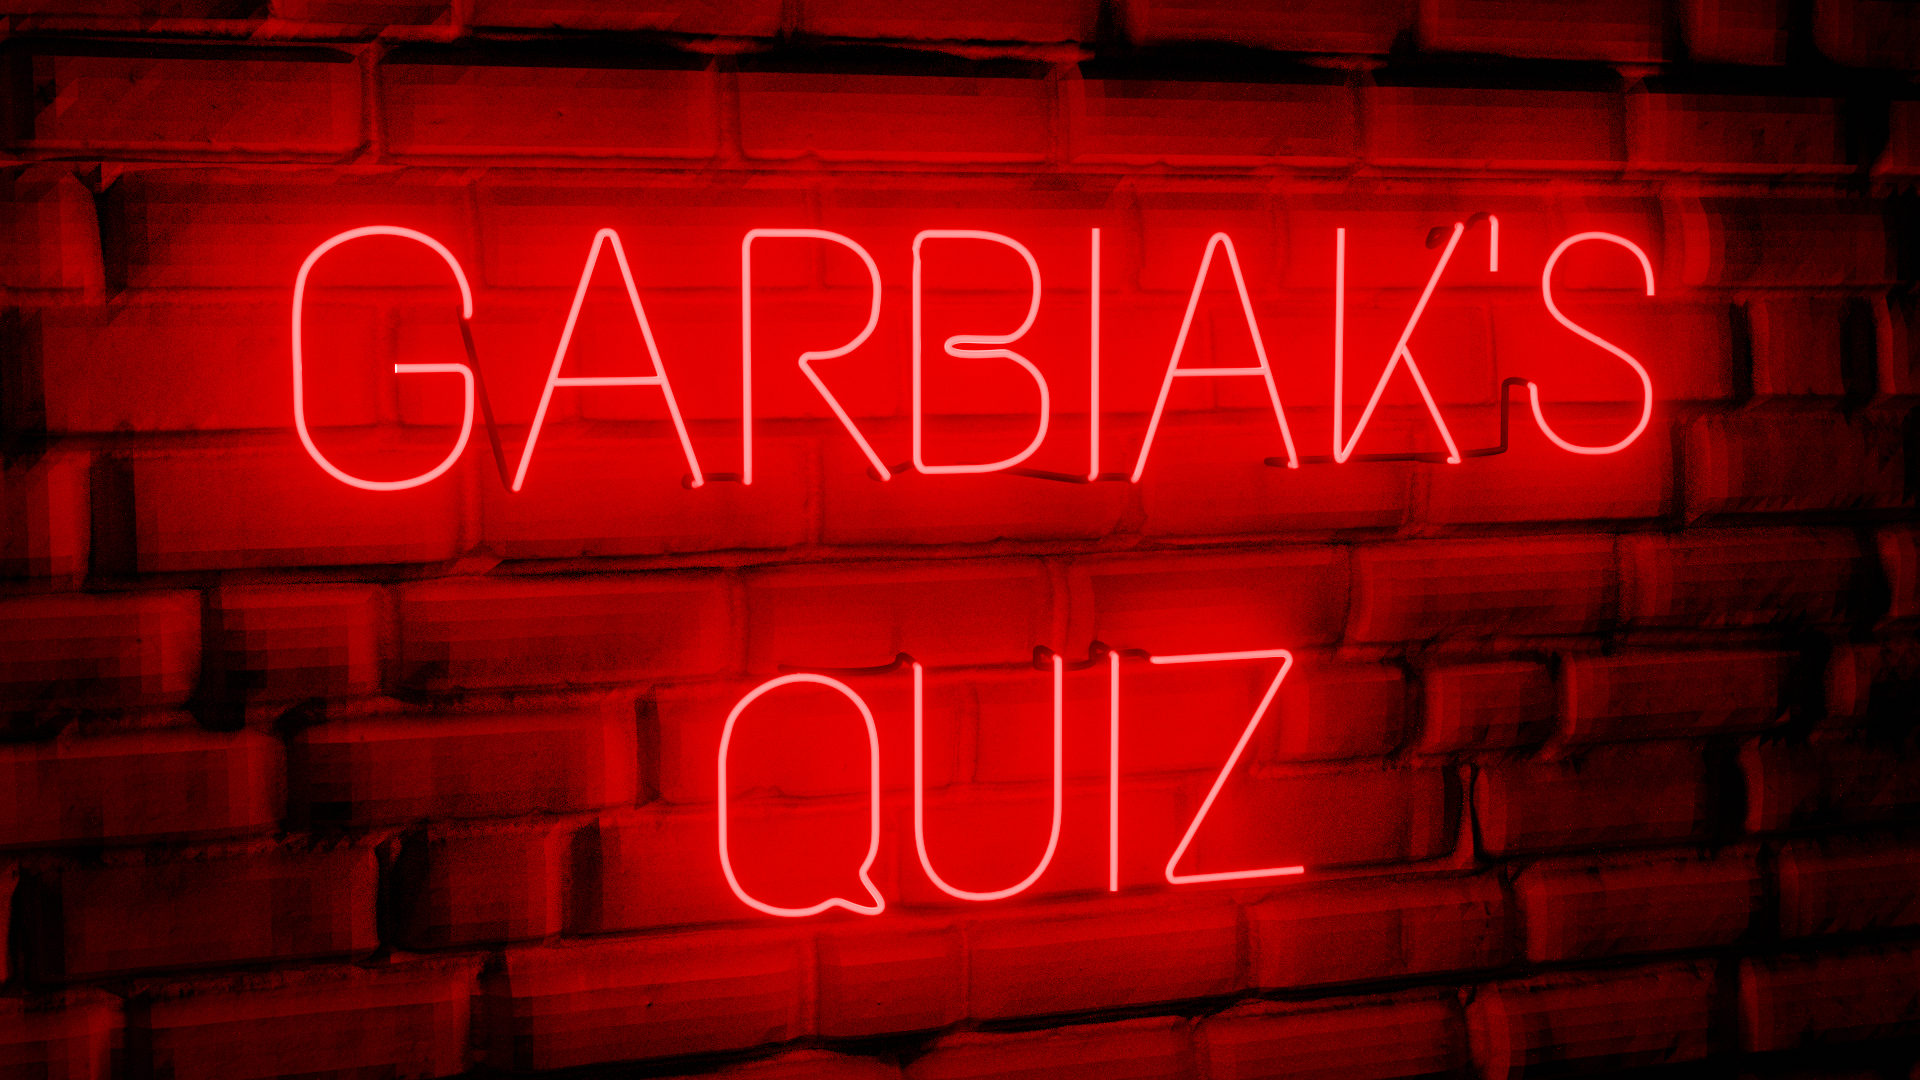
- June 1 and 2, 2020 - Neon Sign
Main element that looks off here is the overpowering neon light against a brick texture backdrop. Again, I’ve messed up the power of the displacement - the bricks are popping out too much.
Prior month work (May 2020)
Currently working on character modelling, I’ve started simple, modelling the human eye:
The eyeball is currently the most lifelike aspect although the transmission material might be too strong:
As you may have noticed I switched out my boring corporate picture for a more fun
Funko inspired 3D design. More recently I added in a coffee cup engraved with my (terrible) logo. My favourite aspect of the design is the use of my actual tie as a texture:

Older work
Creepy creature using cloth physics:
Introduction to Mocap using Mixamo, Adobe’s free rigging tool:
Messing with a vortex and the particle simulation feature:
First introduction to key framing:
First ever .mp4 render, using the particle simulation feature:
Some rigid body physics:
